

Host Your Site in 5 Steps on Vercel!


Overview
Since the time I started coding, hosting was an issue that held me back from making my projects live. But now it has never been easy to host your projects it doesn't matter it is a small HTML site or full-fledged react application.
So my aim with blog is to provide a step by step guide to host and make your awesome project live and let you share it on social media and don't forget to tag me in your post Twitter and LinkedIn
Hosting Providers
- Netlify
- Vercel
We are going to use Vercel for this blog because ... I like it.
Prerequisites
- You need to have the project repository on github.
- Login/Signup on vercel ( click here )
That's it
Step 1 :
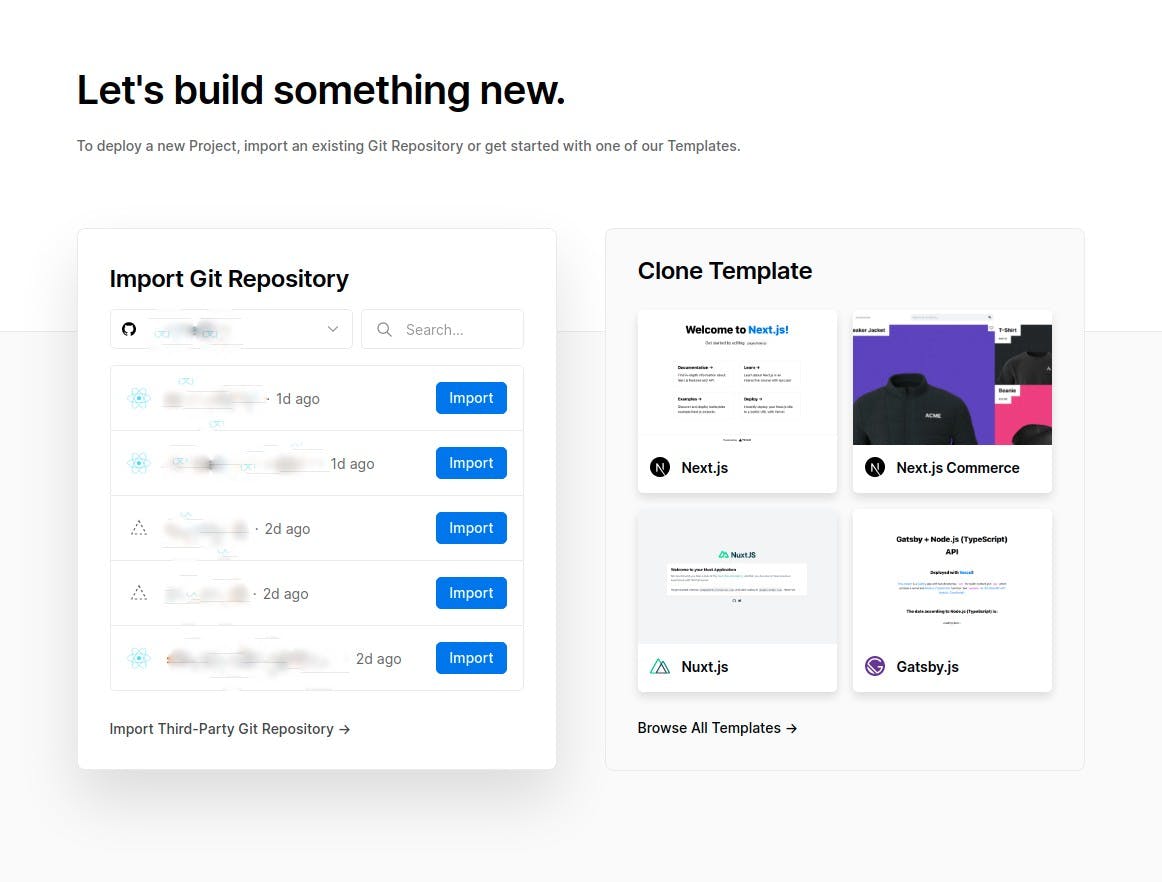
Import your repository from the list or search for it.
Step 2:
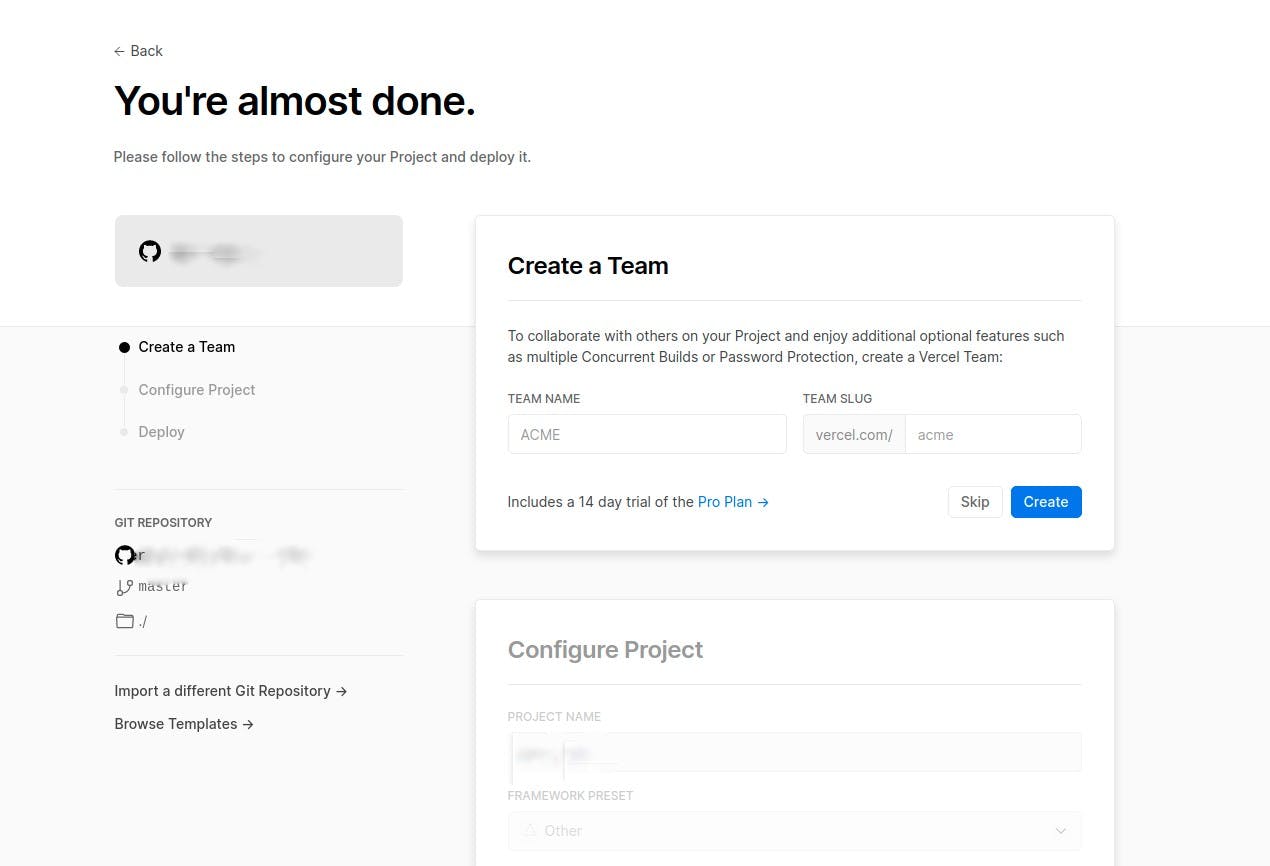
You can skip this for now. Click on skip to go on to the next step.
Step 3:
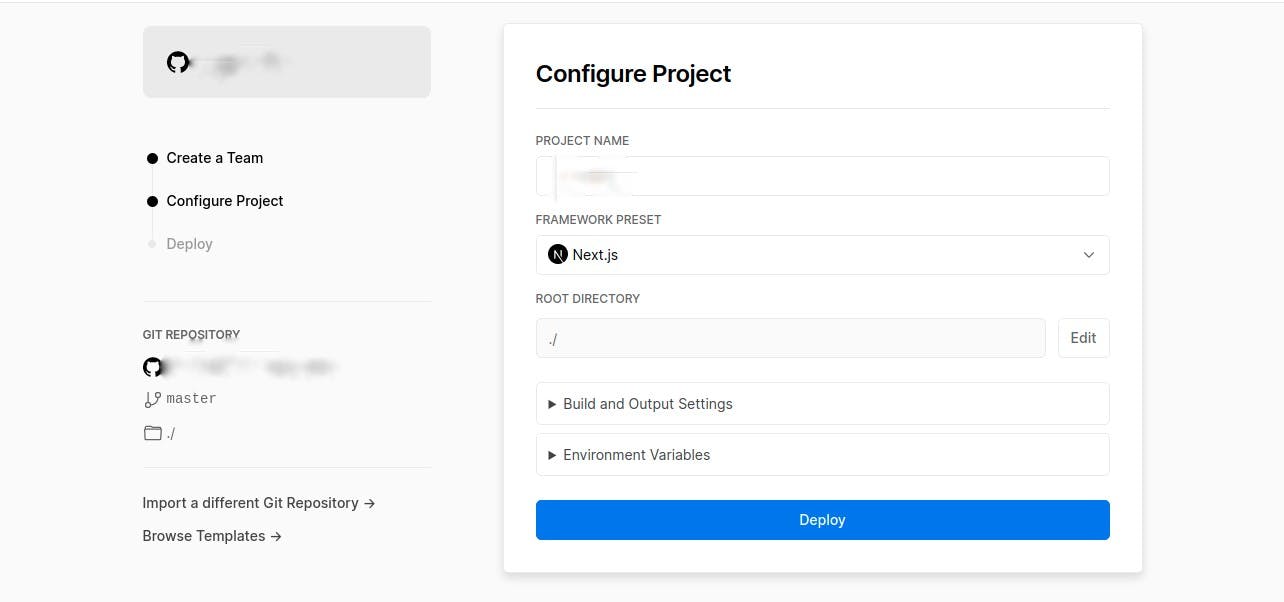 Here you can configure the project by selecting the framework you want but mostly it will configure it for you, if it shows the framework which you have used then don't change it and other environment variables or build commands.
Click on to deploy it.
Step 4:
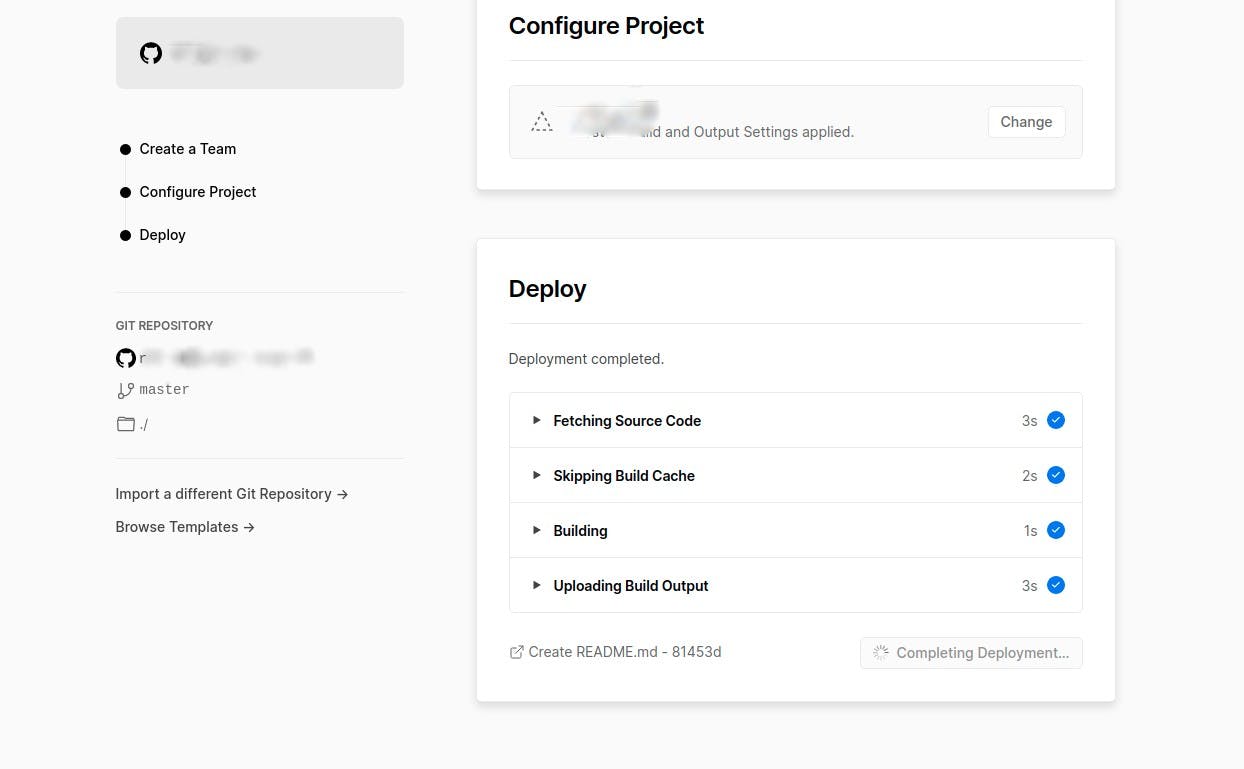
It will start building and deploying the code. wait for it to finish.
Step 5:
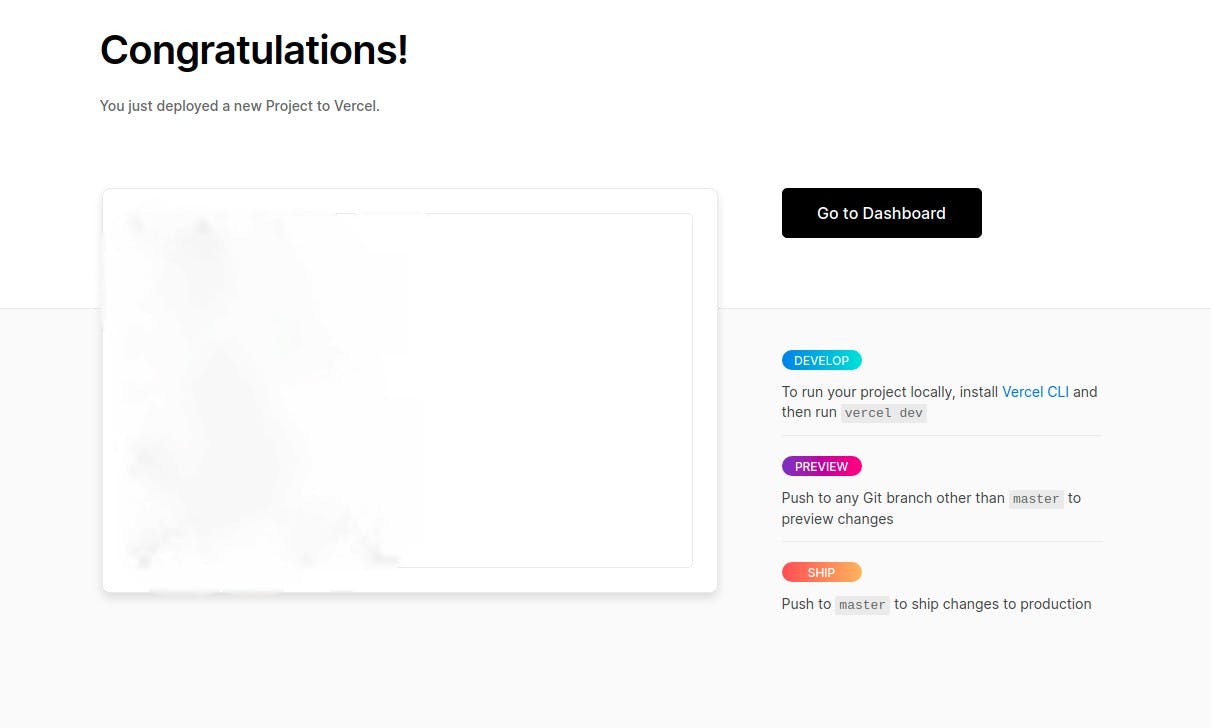
Congratulations, your project is live go on to the dashboard to get the hosted URL and share it with your friends to show them your newly hosted site!
Like this and comment down with your hosted links. I would love to see your hosted projects.